Forge: letting AI agents design 3D-printable parts without guessing
Asking a coding agent to write a 3D-printable enclosure usually breaks down in three predictable ways:
- It guesses physical dimensions. Give an LLM a board name and it happily invents a 1.5 mm PCB offset or a USB-C cutout that misses the connector.
- It produces unprintable geometry. Floating islands, 70° overhangs, and paper-thin walls slip past standard boolean checks and only show up when you open a slicer.
- It burns context on tiny tweaks. Changing a wall thickness from 1.6 mm to 2.0 mm shouldn’t mean re-reading 400 lines of CAD code, re-exporting STEP files, and uploading huge renders on every iteration.
After printing enclosures for a few home hardware builds — like Attention and a small e-Paper bathroom board — I pulled the workflow apart, stripped out everything specific to my setup, and open-sourced it as Forge.
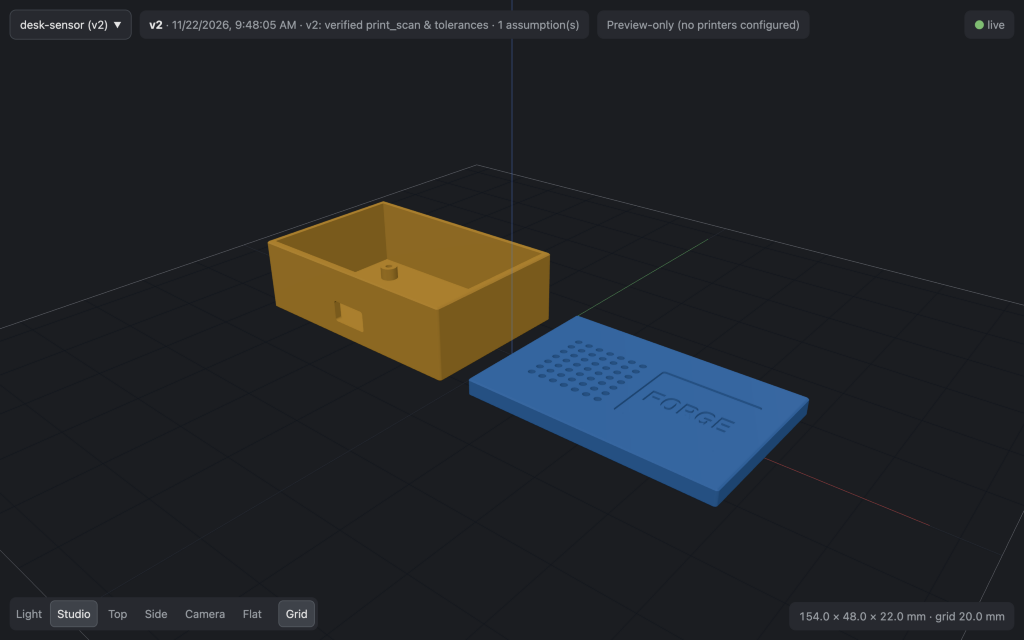
Two tiers: heavy CAD on your laptop, lightweight Hub anywhere
OpenCASCADE tessellation and slicing easily consume 500 MB+ of RAM, which rules out running them on a small home server. On the other hand, keeping a versioned model store, live 3D web preview, and printer status bridge online 24/7 only needs about 40 MB.
Forge splits cleanly along that boundary. hub/ is forbidden (and tested via AST scan) from ever importing build123d, OCP, or scipy. You can run both tiers on a single laptop with forge serve, or drop hub/ onto a Raspberry Pi or Docker host.
No guessed dimensions, low-token iteration
Every project separates numeric parameters (params.py) from Build123d geometry (<part>.py). Real-world measurements must be wrapped in Dim(value, source) citing either a caliper measurement date or a manufacturer datasheet — never “about 20 mm”.
from forge.dim import Dim
from forge.validate import assert_fdm_params

PCB_W = Dim(21.0, "datasheet: raspberry-pi-pico-w")
WALL = 2.0
FLOOR = 1.6
BED_CHAMFER = 0.4

assert_fdm_params(wall=WALL, floor=FLOOR, bed_chamfer=BED_CHAMFER)
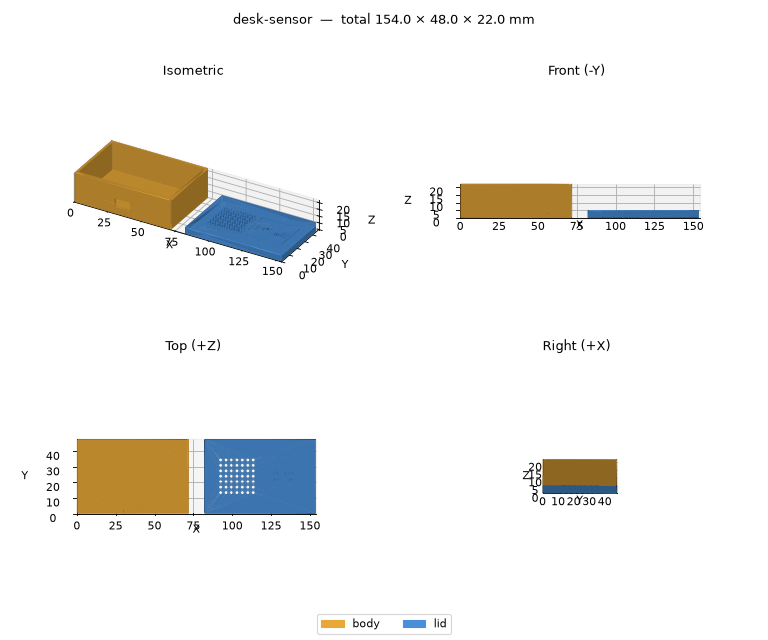
Before anything reaches a slicer, forge.validate.print_scan() slices the tessellated mesh layer by layer to catch mid-air islands, unsupported overhangs steeper than 45°, bridges exceeding 10 mm, and features narrower than 2× nozzle width. Only once math and geometry pass do you generate a single compact 768 × 640 orthographic check render and push a preview.
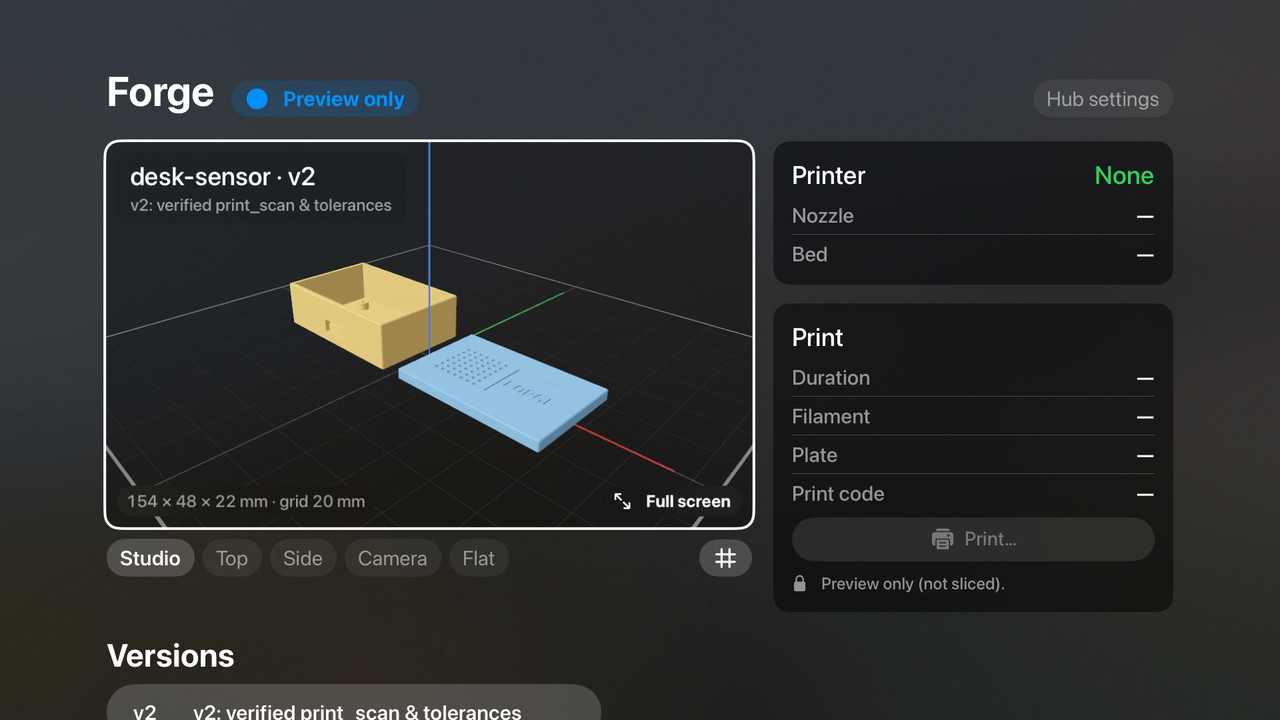
model.usdz).Safety boundaries by construction
Giving an AI agent access to a physical 3D printer needs hard guardrails, not polite prompt instructions:
- Single outbound allowlist (
guard()): Every MQTT message to a printer passes through one function that permits only two commands: read-only status (pushall) and an explicitly approved print job (project_file) with bed leveling, flow calibration, vibration calibration, and layer inspection forced on. Raw G-code, temperature overrides, axis motion, pause/stop, and firmware commands are refused in code. - Per-printer
.gcode.3mfvalidation (check_3mf()): Before uploading a sliced file, the Hub verifies that the file’s target printer model, nozzle diameter, and every nozzle/bed temperature command stay within that specific printer’s configured limits. - Human-in-the-loop print approval: Agents cannot view print codes or start prints autonomously. Starting a print requires either pressing confirm in the LAN web/Apple TV UI or handing the agent that version’s single-use 6-digit code.
Works with any coding agent — no printer required
Forge follows the open AGENTS.md and SKILL.md standards so the same skill works across Claude Code, Antigravity, Gemini CLI, OpenAI Codex, and Cursor (plus forge export-skill for web chat tools). You don’t need a Raspberry Pi, Apple TV, or Bambu printer to try it: workstation mode works offline on a single Mac or Linux laptop and exports clean STEP/STL files for any slicer.
If you want your coding agent to install it interactively — asking which optional modules you actually want before touching anything — paste this into your agent:
Clone https://github.com/mskasal/forge, read SETUP.md, ask me which optional
modules I want before configuring anything, then install and verify with `forge doctor`.
Source, docs, and architecture details are all at github.com/mskasal/forge.